This post was written (and written hilariously) in my absence by Lori at In Pursuit of Martha Points – where she typically writes both humorous and thought-provoking essays that are just … aw … you just have to visit her at her home to see the original, unabridged pursuit. Of Martha points. Everybody say “Thank you, Lori!” I was in a paper store today and crushed by the price tag of $12.95 for 8 notecards. Amazing how you can do it so cheaply – and uniquely – at home, yeah? Thank you, Lori!
At my blogging home, I write funny things about all the things that go wrong when you’re a domestically minded person with a couple jobs, a handful of kids, a pair of cats and a husband. Clearly, material is not something I lack.
But under the humor of In Pursuit of Martha Points is a personal truth – I love to make things. I love to cook, I love to decorate, I enjoy crafting. And while much of this is done to make my own space tastier, comfier or prettier, there is also joy in gifting my efforts to others.
Why Homemade?
Shopping is faster. A run to the mall, a click of the mouse. Whee! Done! Where’s my wine? I do that as much as the next person – for books, or cd’s or clothes or electronics. I have not yet figured out how to crochet an iPod.
But there are so many smaller gifts that are that much more special because my hands crafted them, because they’re a reflection of my own personal style of creativity, and because I took more time to make them than I would have spent buying them.
Also, loving homemade is often something that needs to be learned. When we are little we so easily gravitate to the shiny and the plastic. It takes long-term, gentle reorientation to teach what is special and meaningful in order to make sure that the girl who wants to get the Barbie grows into the woman who loves to get the homemade jam. What you treasure will become what your children treasure as they grow, so it a lesson worth sharing.
Ok Lori, then show us what you got.
Ooh! I thought you’d never ask. My personal crafts are hand-marbled paper and fabric, and handcrafted beaded and wire jewelry. I love to paint, but have not yet mastered the art to a level where a gift would make it beyond the “Ok, it’s the thought that counts†level, so I stick to what I know.
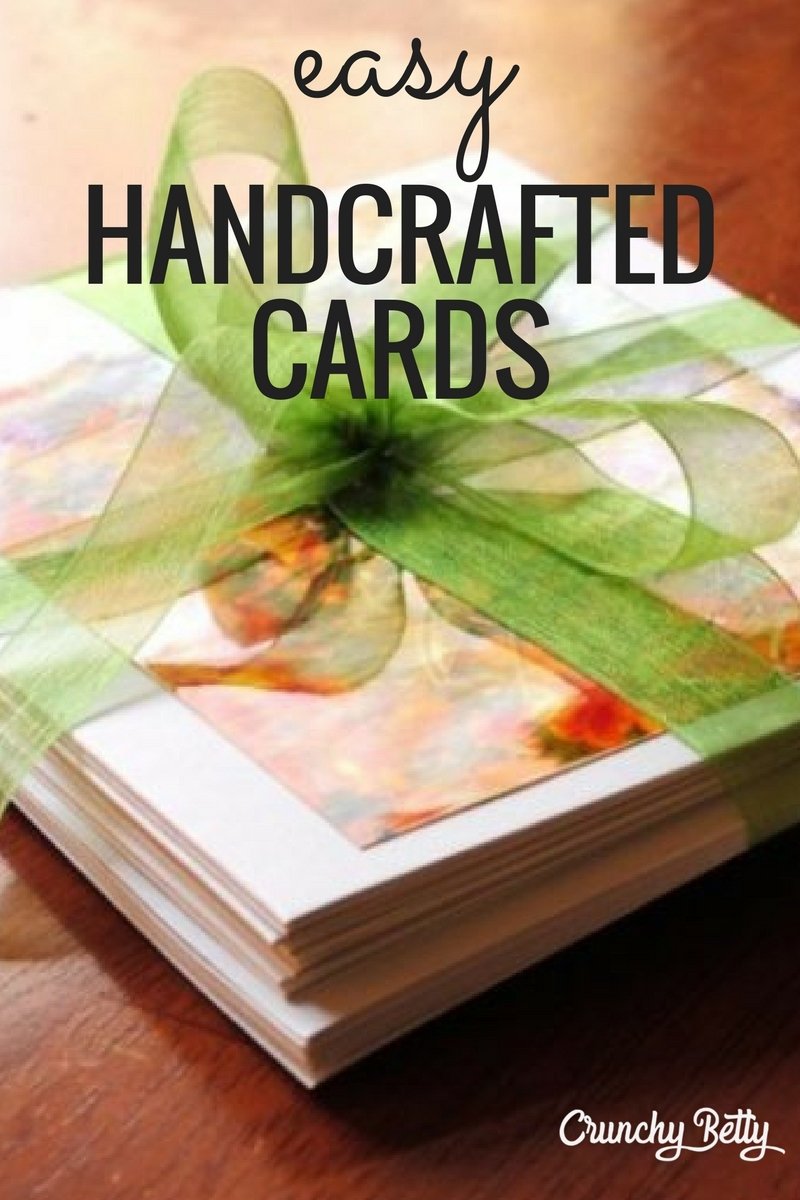
Today I’m going to show you one of the easiest gifts of all. Hand crafted cards.
Easy Handcrafted Cards
Materials:
- Blank cards with envelopes
- 4×6 photos or artisan paper
- Uhu or other glue stick
- Paper towel
- Scratch paper
- Burnishing tool (optional)
When I first started doing this back when dinosaurs roamed the earth, it was infinitely more cost effective to cut cards myself out of light card stock. Not so any longer. Now it’s just as economic to buy a package of pre-cut cards and matching envelops, and I can’t say I mind the time-saviness.

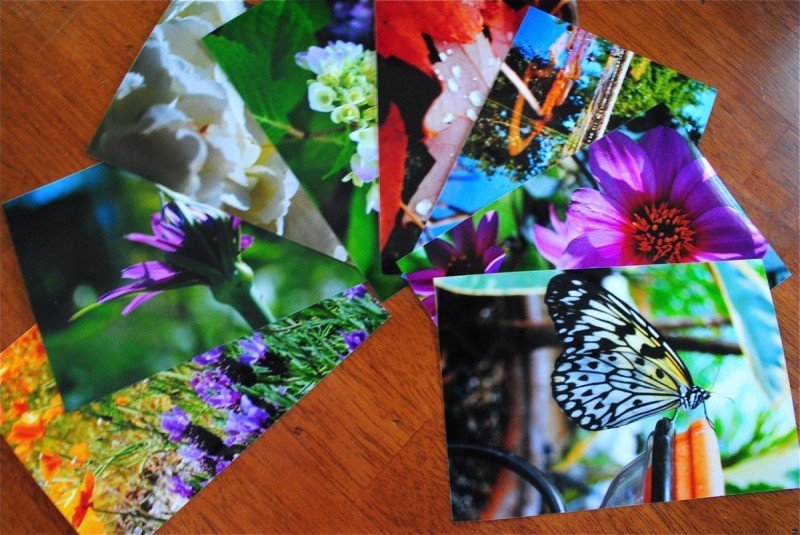
If you’re of the snap-happy persuasion – as I am – then you have a folder on your computer filled with pictures that you took cause they were pretty, but then have no particular other use. And if you’re like me, you’ll be lucky enough to discover that out of 47,000 shots you have 10 pretty enough to use.
Upload your images to the photo-processing center of your choice. I used Walgreen’s and they cost me nineteen cents apiece. In a fit of indulgence, I ordered double prints.
If you are considering any paper based crafting, you must buy this:
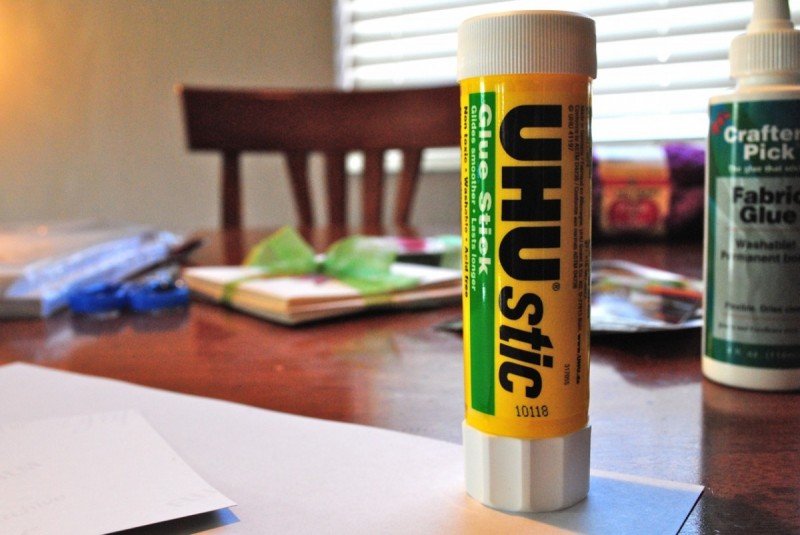
This is your friend, your buddy. This, or any other non-liquid adhesive. Yes paste is also excellent. White glue and paper products are not happy bedmates. Too much moisture, while good for hydrangeas, is not good for many paper arts and crafts. Using white glue for this kind of work will result in a wrinkly, messy product.
Step 1: Set the materials out on a clean, flat surface.
Step 2: Lay your photo pretty side down on a sheet of scratch paper and rub the back liberally with the glue stick, make sure that glue reaches the edges and the corners.
Tip: Watch the scratch paper. If glue is building up on it, get a clean sheet. You don’t want glue smudges all over the pretty photo.
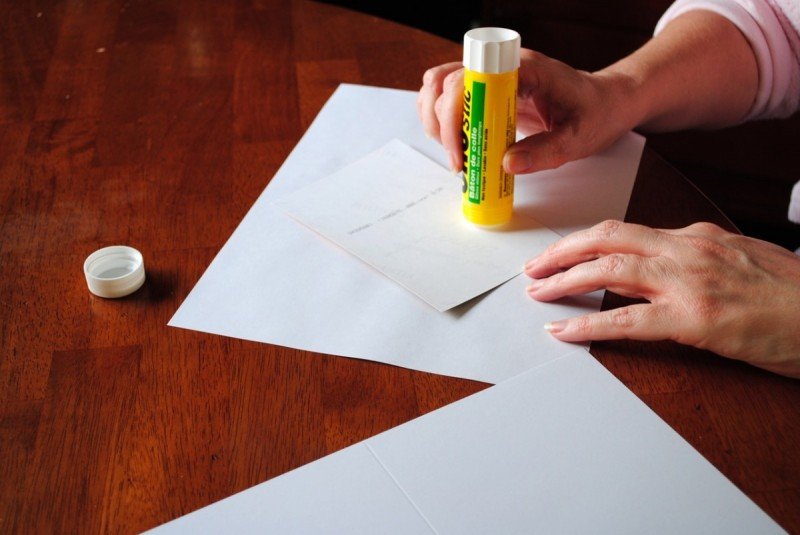
Make sure there are crumbs visible on the table after you make a big deal to your husband about how clean it has to be.
Step 3: Once the back of the card is well glued, mount the photo to the card. Pay attention to the orientation of the picture relative to the way the card opens. Here’s a photo of me applying the photo to the card, using a precise application method called, “That Looks About Right.â€
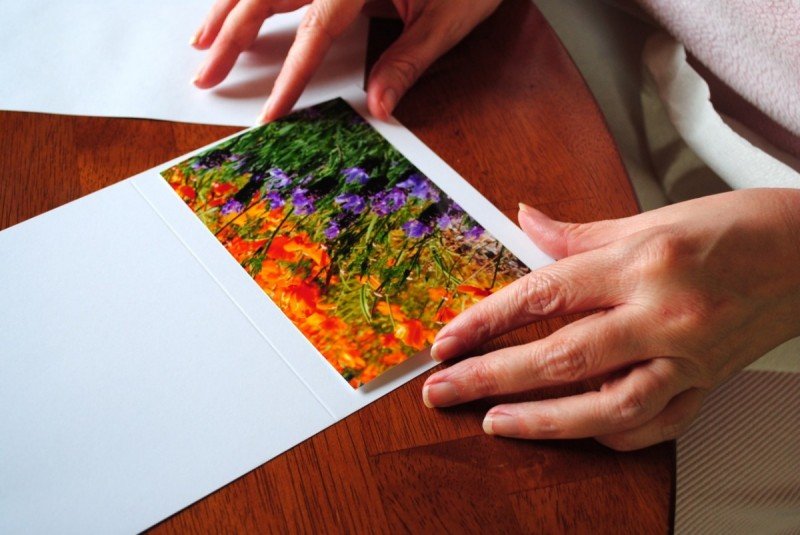
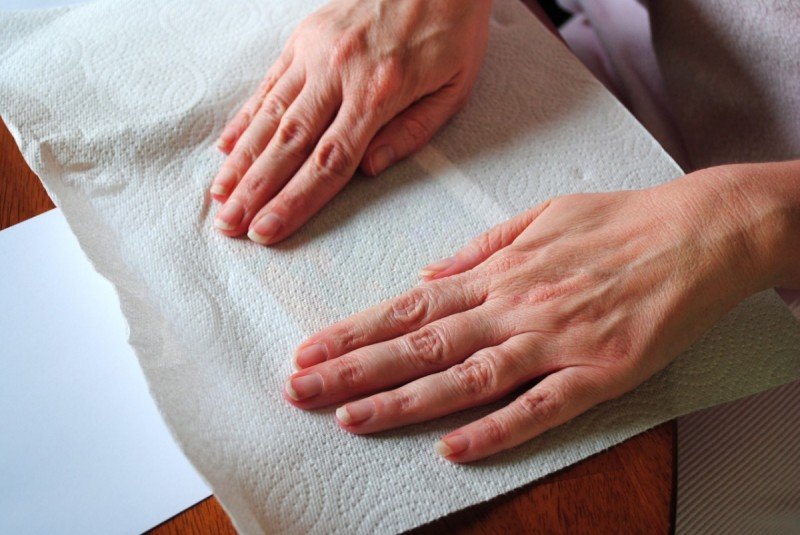
Step 4: Take a paper towel and cover the photo, then press firmly all around the picture to affix to the card. This is where your husband/photographer will yell at you, “Would you keep your hands still for one second, please?â€
Tip: This is not a method that should be used for quality photos being put in an album for posterity. This is to make a greeting card, which, while noble, does not require the same specific handling as photos that are intended to live long lives.
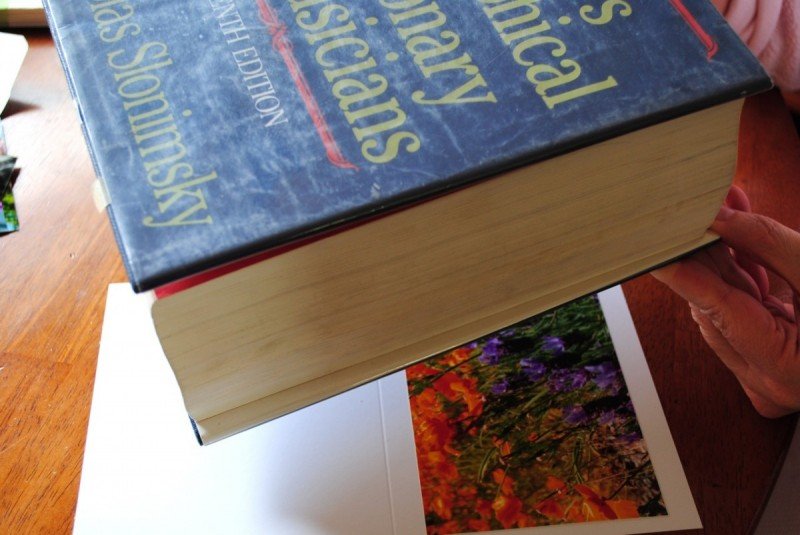
Step 5: Once you’ve affixed the photo to the card, place the card on a flat surface and cover with a heavy book. Stack cards on top of each other under the book, then let sit for at least an hour to dry.
Tip: If the glue has flown hot and heavy, place a sheet of wax paper between the cards to keep them from sticking together while they dry.
While those are drying, look at this:
Isn’t this adorable? Totally an impulse buy at the craft store. I’m not sure what’s happening to it yet, but I suspect someone’s getting a scarf for Christmas.
Step 6: Once the cards are dry, fold them in half, using a burnishing tool to press a tight crease in if you have one. With pre-made cards, there’s typically a crease already pressed into the card and it will fold very cleanly with nothing more than your hands.
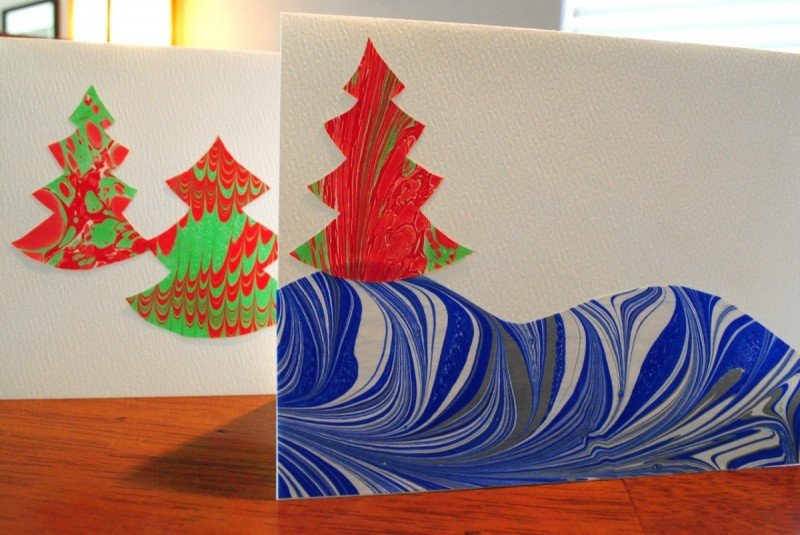
As an alternative to photos, you can make cards with artisan paper. I used paper I’d marbled myself for these, but any beautiful paper will do.
You can cut shapes from the paper and create a picture or collage.
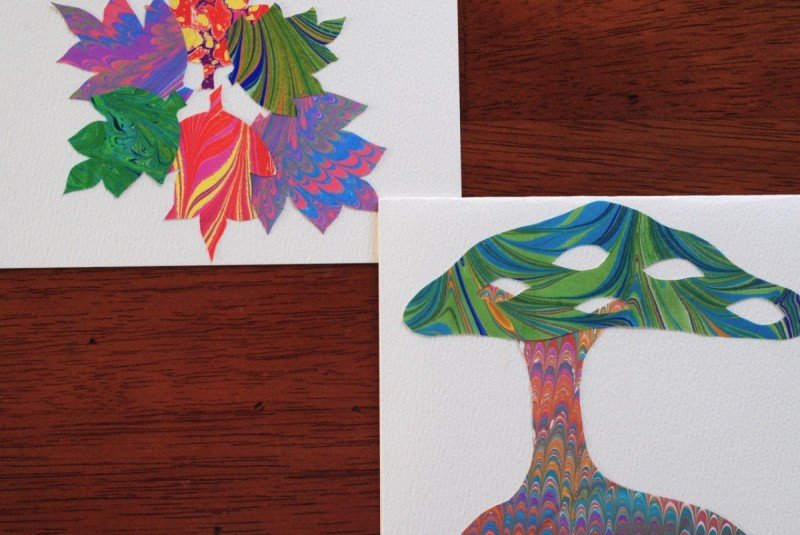
You can make seasonal cards. Look, Christmas trees!
Or you can opt for the “can’t be bothered to draw†method and use abstract shapes.
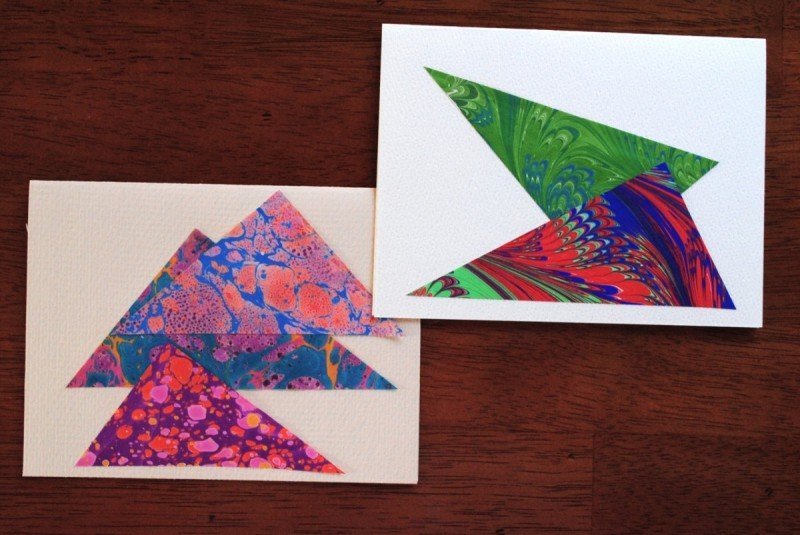
The sky’s the limit, and the process is exactly the same.
Once you have a batch – five, eight, ten – stack a comparable number of envelopes, stack the cards, and tie the bundle together with a pretty ribbon.
Tip: Personalize the cards with a stamp on the back. Bar code optional.
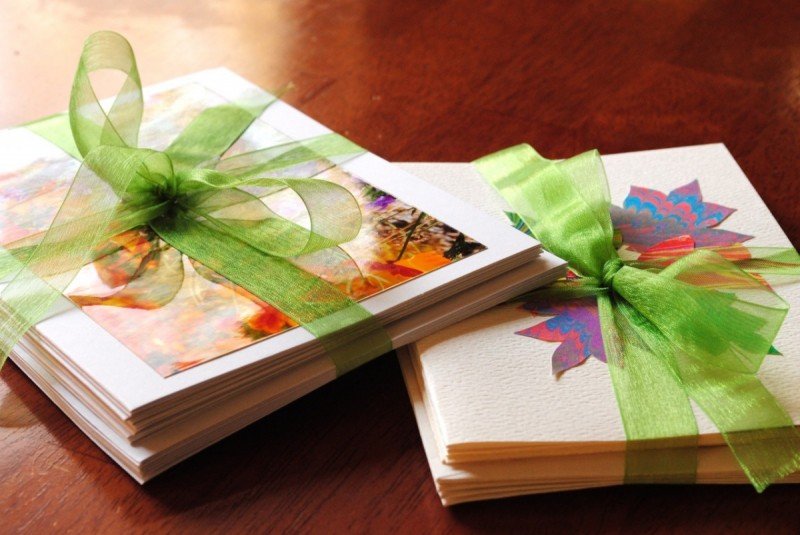
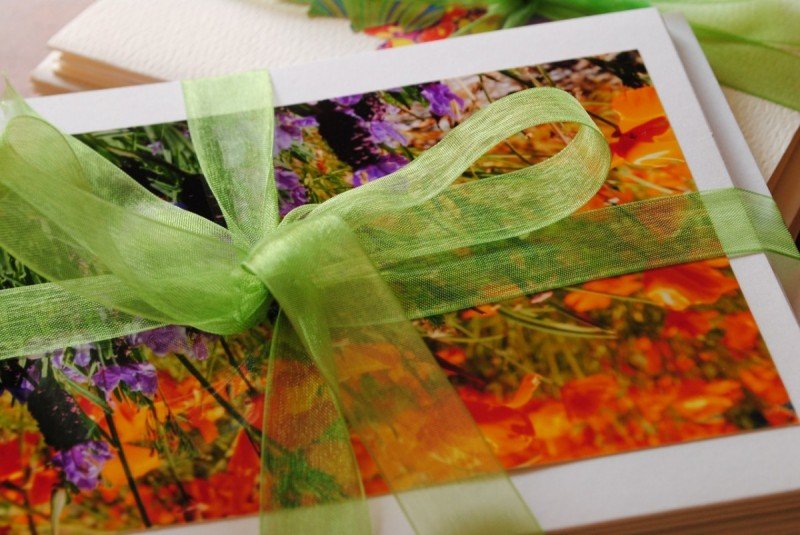
In addition to the sentiment that comes with something you make yourself, sometimes you get the added bonus of making out like a bandit with cost. Let’s compare.
One package of handcrafted photo-cards in a stationary store or boutique: $8.95 – $12.95.
Making them yourself:
8 pictures @ 19 cents each = $1.52
8 cards + matching envelopes @ 19 cents each = $1.52
For a grand total of: $3.04
There is just no beating that.
Now go! Craft! Make! It might take a bit of practice to hone your skills such that you’re satisfied to give away what you’ve made, but that’s ok. Learning and growing is one of the fringe benefits. And if you decide that your craft is going to be candy-making or baking, then you get added benefit of getting to eat your mistakes.
It’s just all good.


 Am I Saying That I’m Not Enough?
I, too, make my own cards, but never thought to bundle them. Leave it to Lori to think of that! One of my favorite things to use is my 3 YOs drawings and paintings. She’s at the stage where it’s just a bunch of colors and not much shape, so it’s perfect for strategic cropping to get a beautiful, abstract piece to use.
Ok, next post – teach us how to marble paper!!!
This is so inspiring! I adore the notion of giving them as gifts. Each year, my family decides on a homemade project to do together and give as holiday gifts. Last year it was Fudge, this year it is clay seed balls. Maybe this will be next years family project!
That’s a great gift idea! I stopped buying greeting cards a couple years ago and make my own to send out for various occasions, but I never even thought of giving sets of them as gifts… very cool! They’d be good to keep on hand for emergency gifts too… hmm… now you’ve got me thinking crafty thoughts!
See, Lori tries to make herself seem like a bumbler, a non-crafty type who loses Marthapoints left and right.
But the real truth is revealed here. She marbles her own freaking paper? Really?
Beautiful. 🙂
Shhh!!!
I’m actually quite crafty.
But negative Martha Points are so much funnier.
Lori, you’ve done it. You’ve shown us all how to garner multiple Martha Points from friends, neighbors, and family members. I KNEW you were crafty while maintaining that hilarious sense of humor.
I love the “Looks about right” method…I use it for crafts, cooking, and doing my hair every morning.
The cards are lovely, and I especially like the way you wrapped them up with the ribbon. Good teacher’s gift, too!
Oh yes, they’d be perfect.
Especially if you had any classroom photos from the year.
That would be a fun gift.
Those are so lovely. And so much easier than I thought they’d be.
Very very easy!
I mean, if *I* can do them!
Lovely. It would be very cute to send grandparents card with pictures of the kids.
I don’t have a burnishing tool. I have to have one now.
I actually have a burnishing tool around here somewhere.
I just couldn’t be bothered to find it.
I’m rebellious like that.
Hi Lori!
Those are beautiful cards – and you did a great job of making the process sound simple and easy enough to try! 😉
Loved your humorous commentary about the husband, as well… 🙂
Thank you, kindly!
My husband often makes things humorous. It is his way.
And please do try! So easy and so lovely!