Who noticed?
The distress ink in the picture tile tutorial? I didn’t say a word about it.
Today, though, I’m going to. Say several words about it. (And at the bottom you’ll find a whole heap o’ photos you can use for your own picture tiles iff’n you want them.)
I haven’t done a lot of distressing yet, but I love the effect it gives to these picture tiles. And it’s super easy – on top of all the super easiness that picture tiles are to begin with.
Here’s a quick run down.
How to Distress Your Picture Tiles…
… without yelling at them.
First, you follow all the steps of creating your picture tiles up until just before you add that last layer of Modge Podge.
You’ve cut and pasted on your image, and you’ve sanded or cut the edges straight.
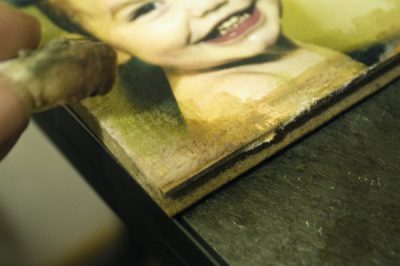
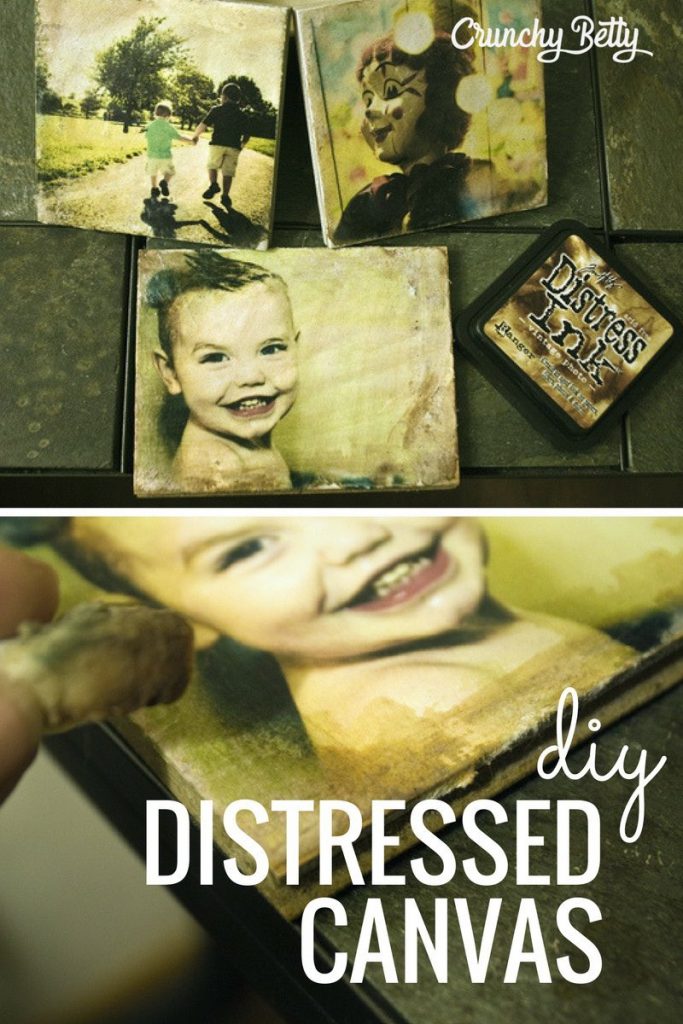
Now you take a piece of sandpaper (or a sanding block) and very lightly sand over the top edges of your picture. The goal is to sand off the top of the paper, but not all the way down to the tile.
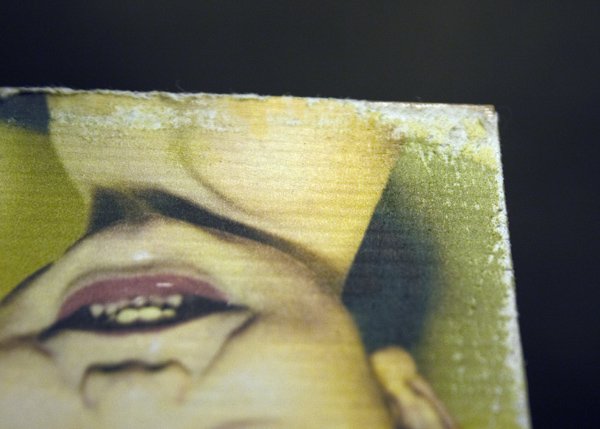
So it’s going to look a lot like that.
Now you take the corner of a paper towel or a cotton round and dip it in water. (They sell special pads for this part, but I didn’t want to shell out the $$$ for those, so I improvised.)
Then, you take your Distress Ink (I found mine for $4.99 at Michaels, but I know they sell it at Hobby Lobby, too) and dab the wet cotton onto the pad lightly – it doesn’t take much.
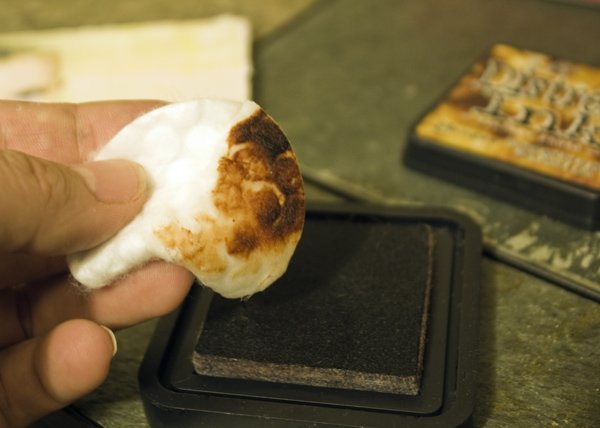
Now you very lightly rub around the edges of the paper where you sanded. You can go a little more heavy handed in places you think could use a little extra distressing. Re-dab your cotton pad into the ink if it starts getting too light.
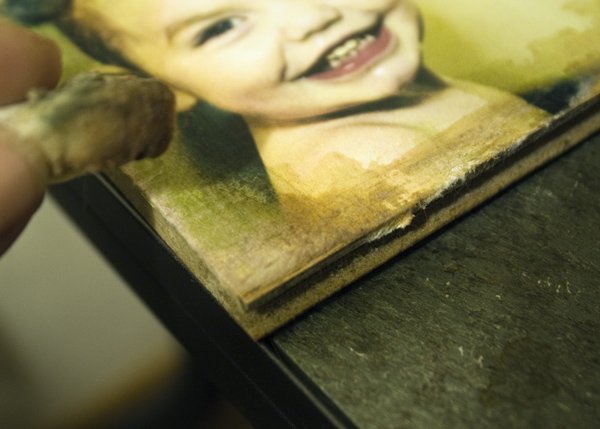
After that, I like to wet the cotton round one more time (damp, not soaking), dip it in the ink lightly again, and then go over the whole picture with a very very very light layer of the ink, just so EVERYTHING looks olden and a little more uniform.
Let it dry completely once you’ve reached proper distress. Then finish with your last layer of Modge Podge and get on with your life!
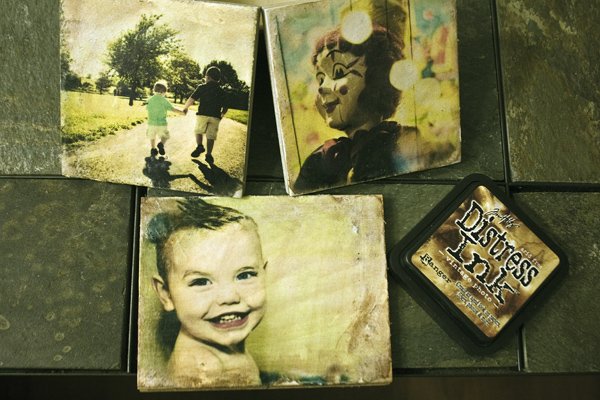
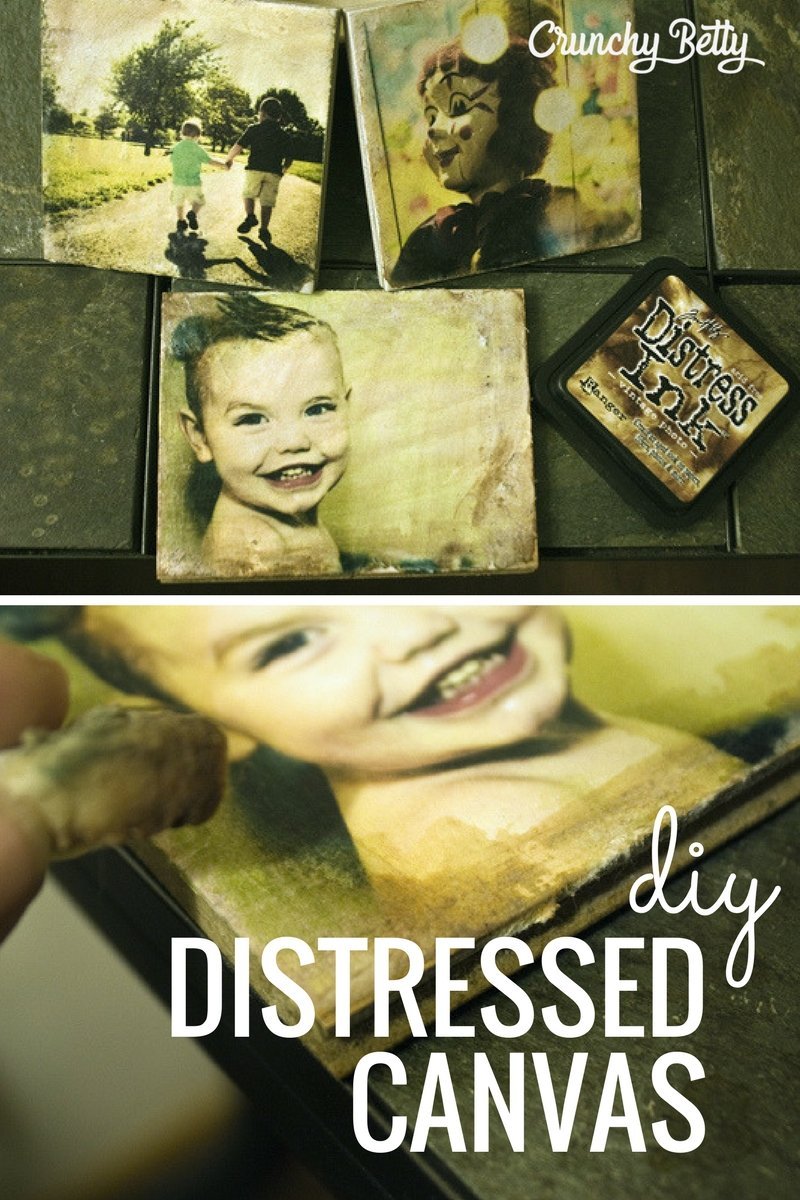
Here are the three picture tiles I’ve used distress ink on. Fun, huh? (Like I said, I still have a little way to go to perfect this destructive art.)
Want Some Pictures for Picture Tiles?
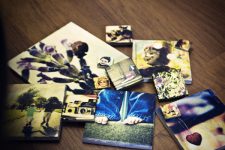
Here you go. I decided just to offer up the 4×4 pictures, because that’s the most common size of tile.
Also because the fan went out on my laptop today, and my laptop doesn’t like to run Photoshop when it’s hot. So … pffft.
Here’s how you do this: All of these pictures are 4 x 4 inches, so all you have to do is click on the one(s) you want, which will bring you full size, and then right click and print – or hit “save as” and then print whenever you want to offline. If you end up with them printing too big, just open them up in your editor and reset them to 4 x 4.
Easy. Peasy. Puddin’. Pie. Enjoy!
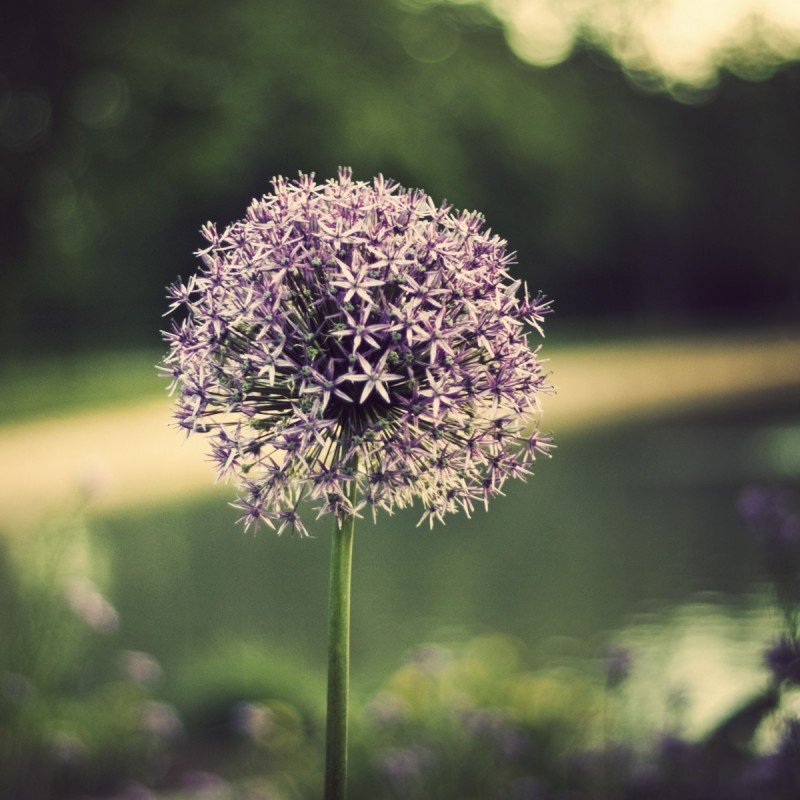
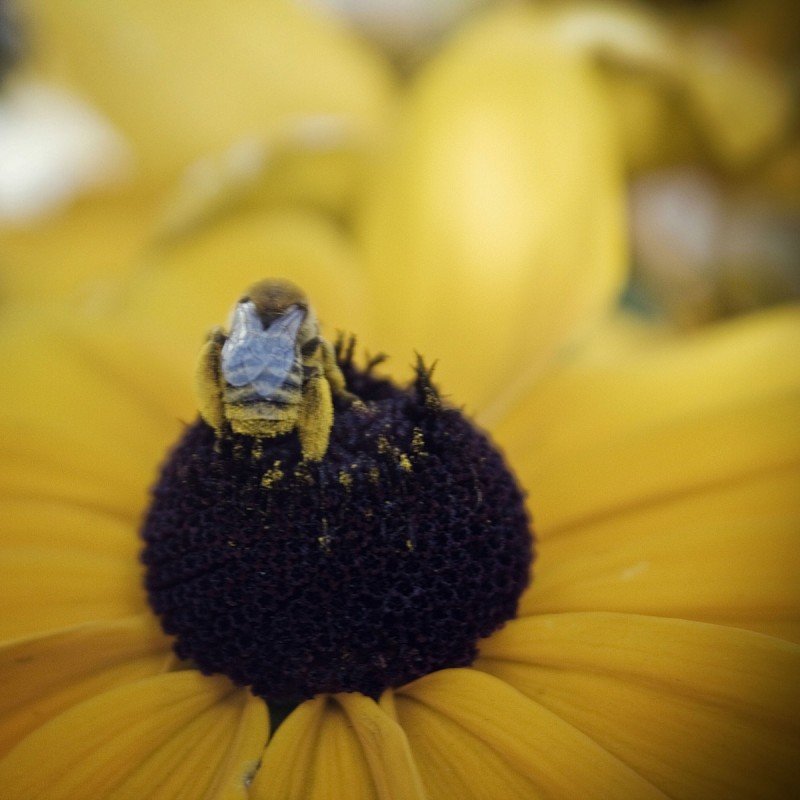
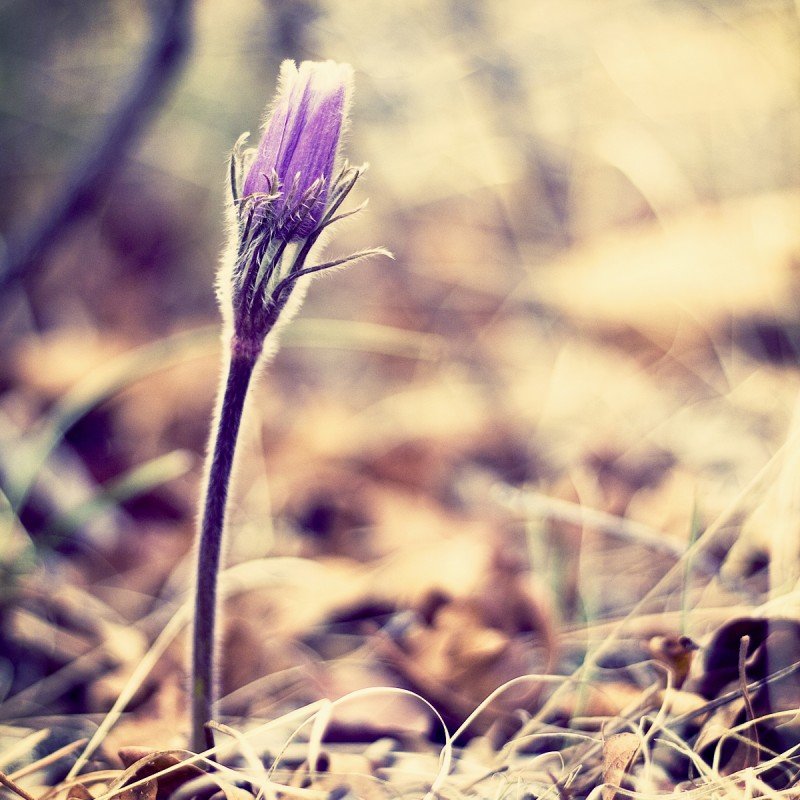
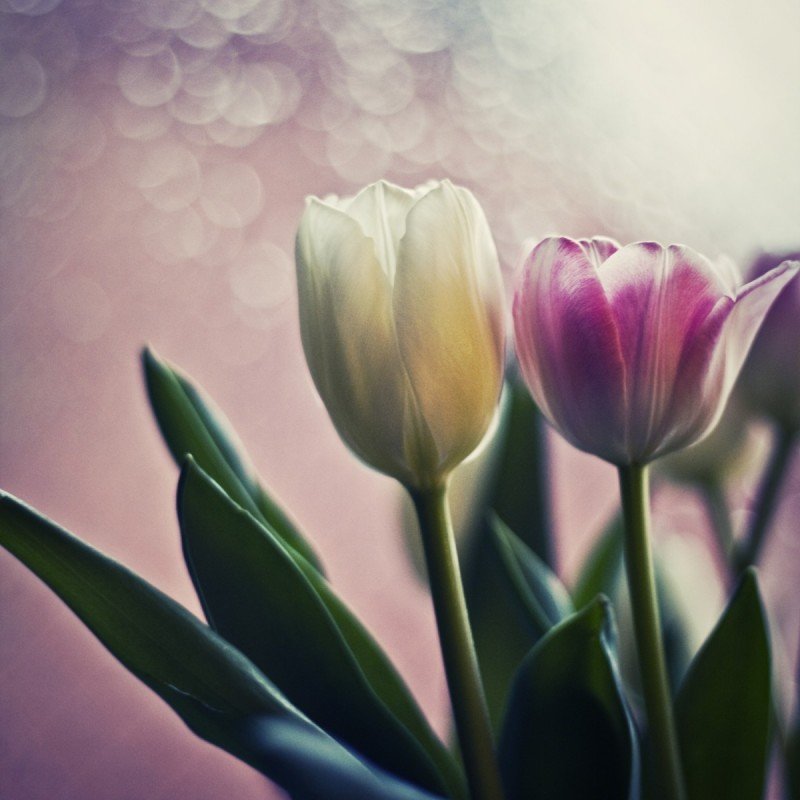
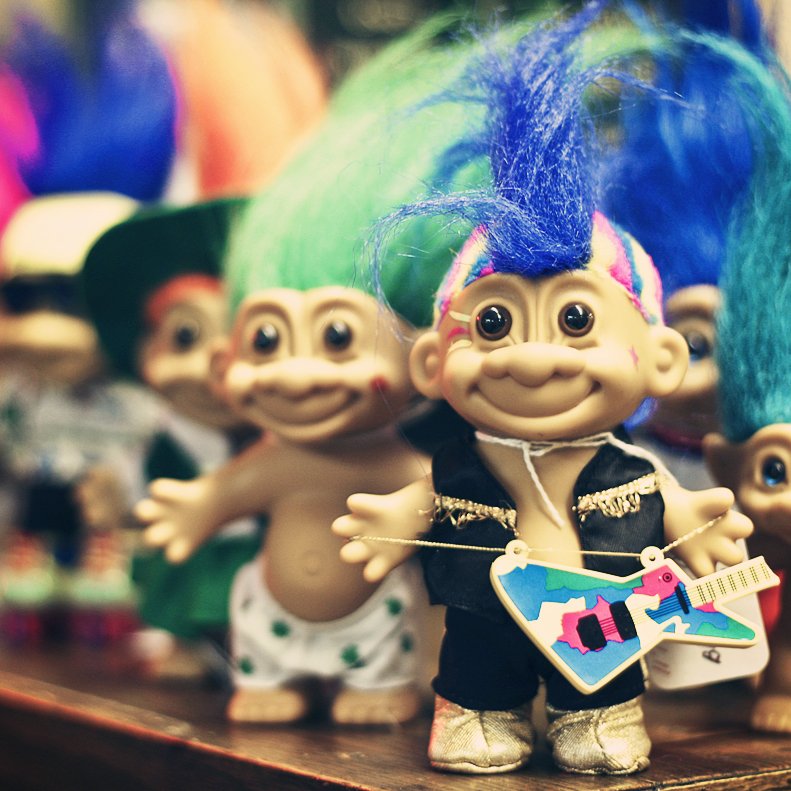
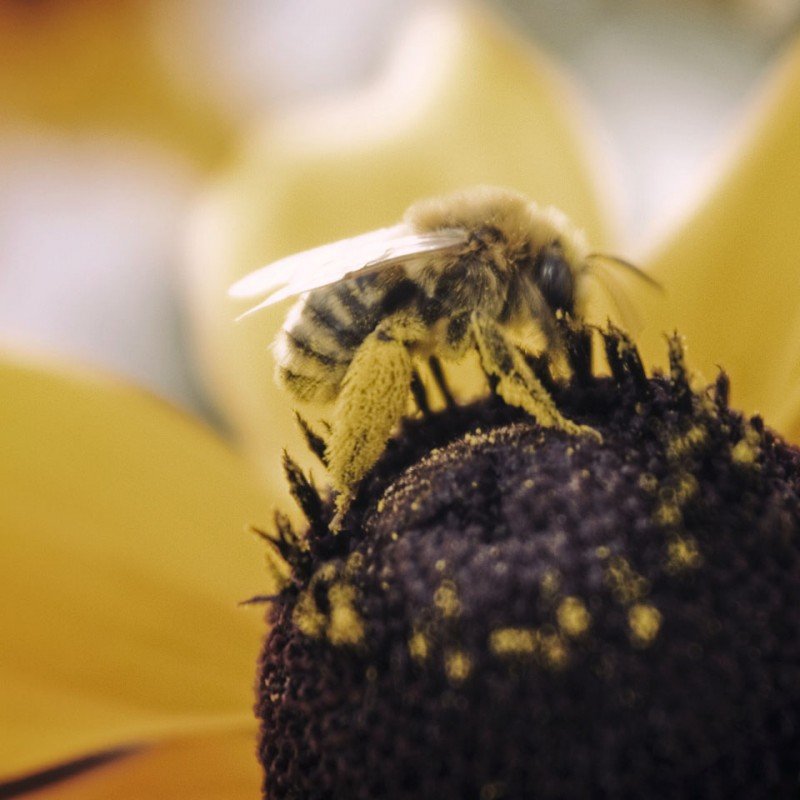
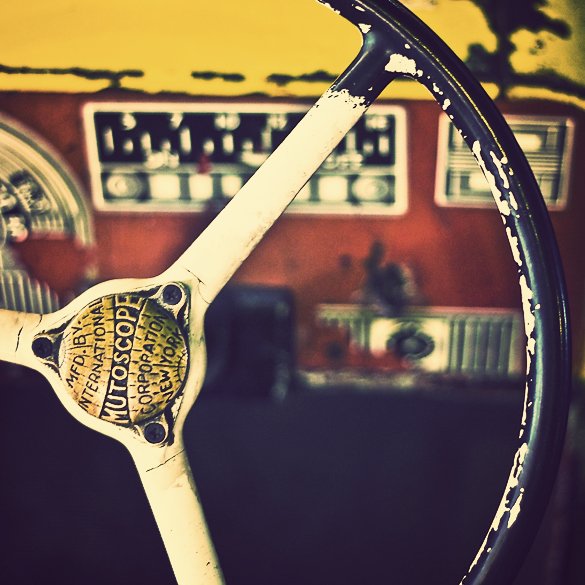
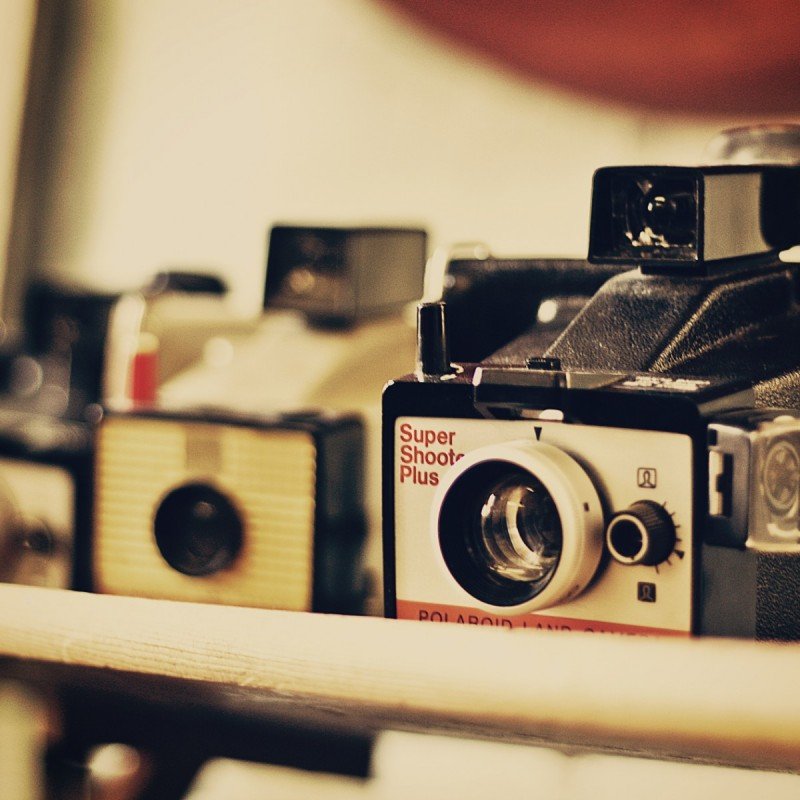

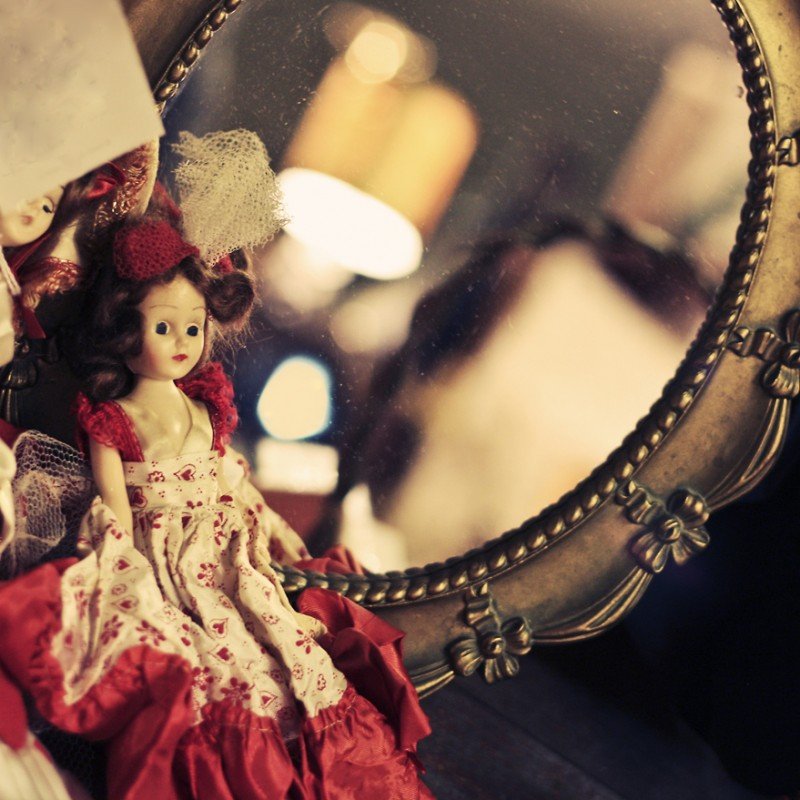
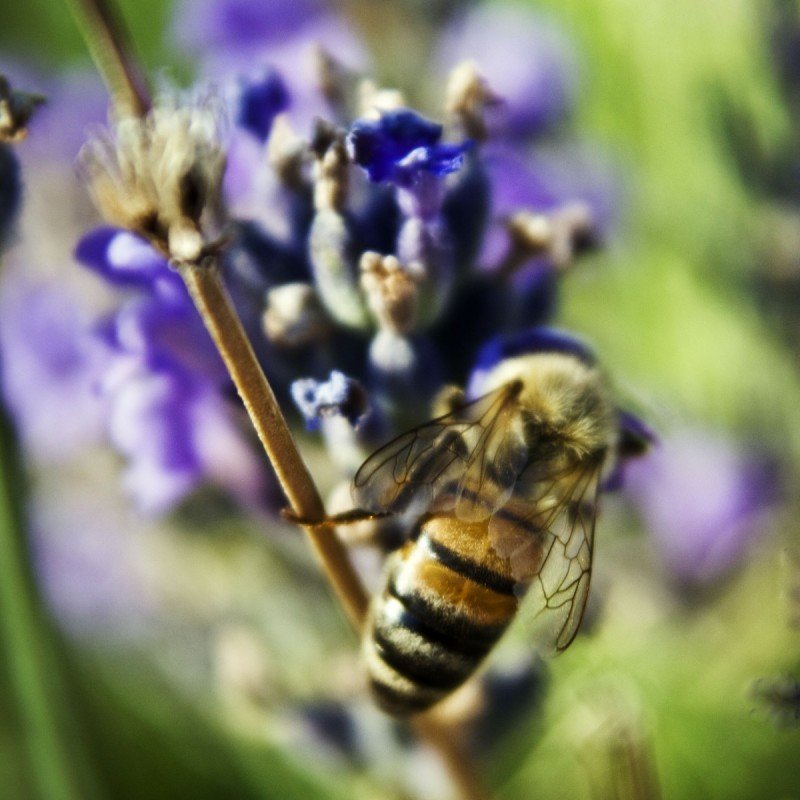
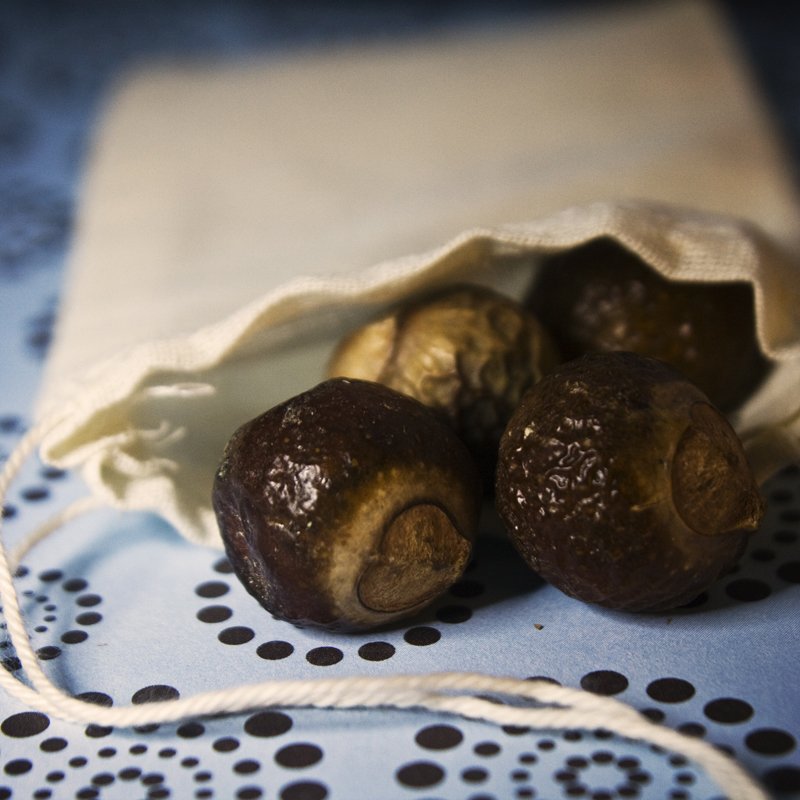
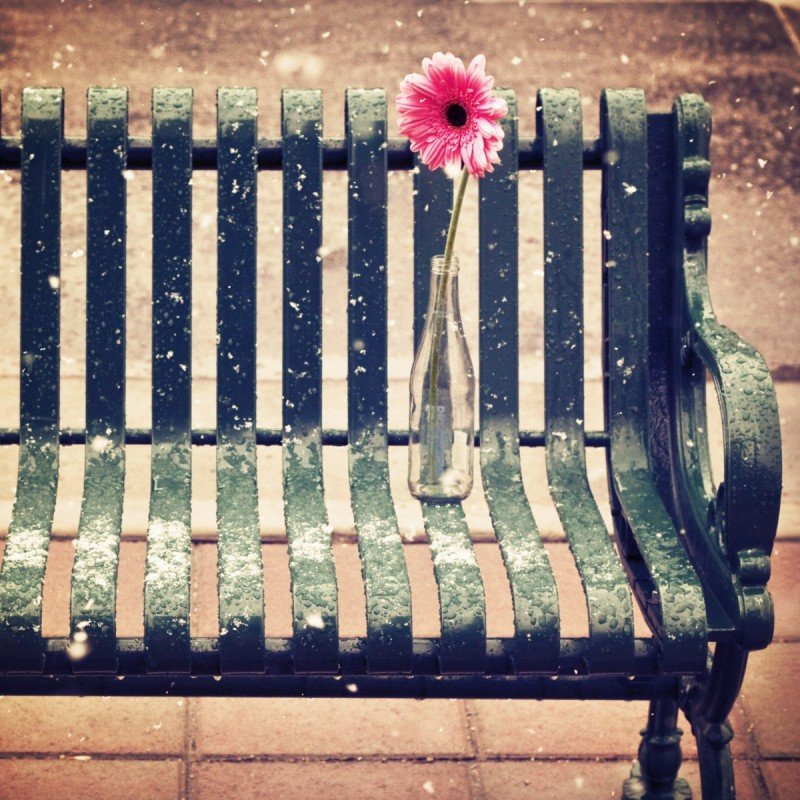
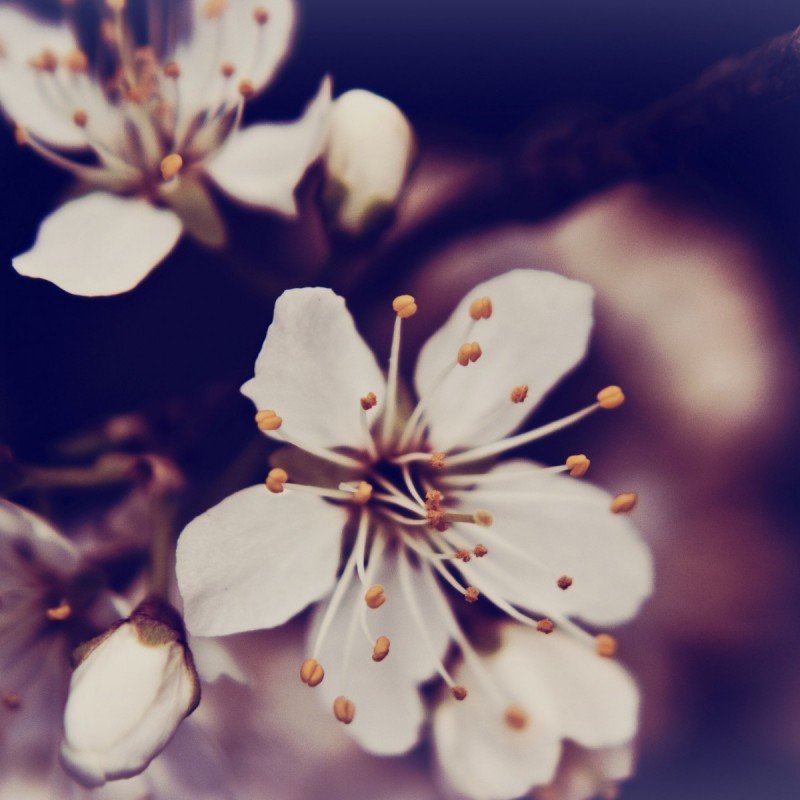

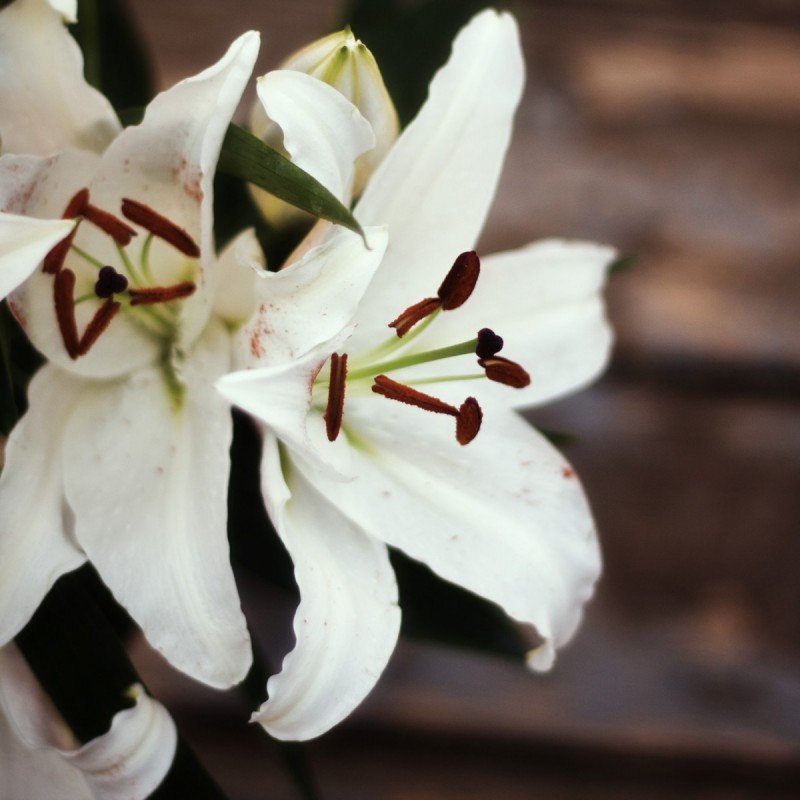

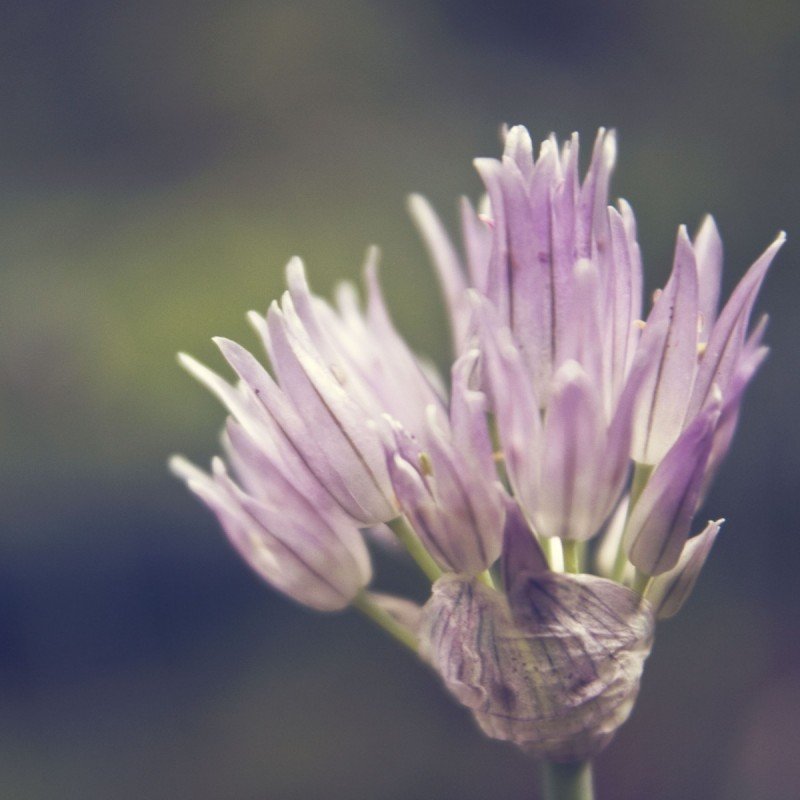
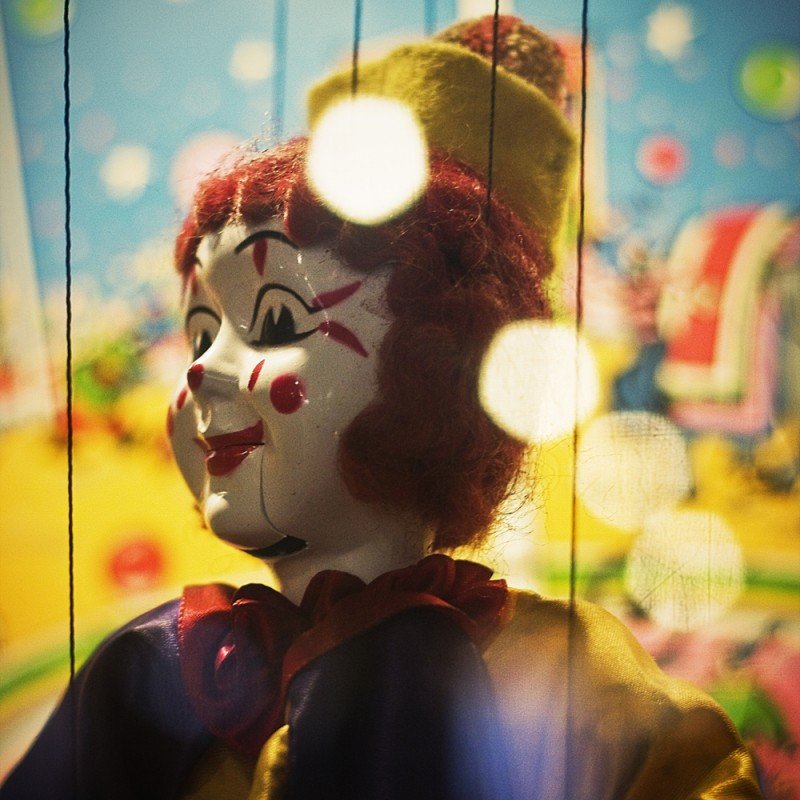

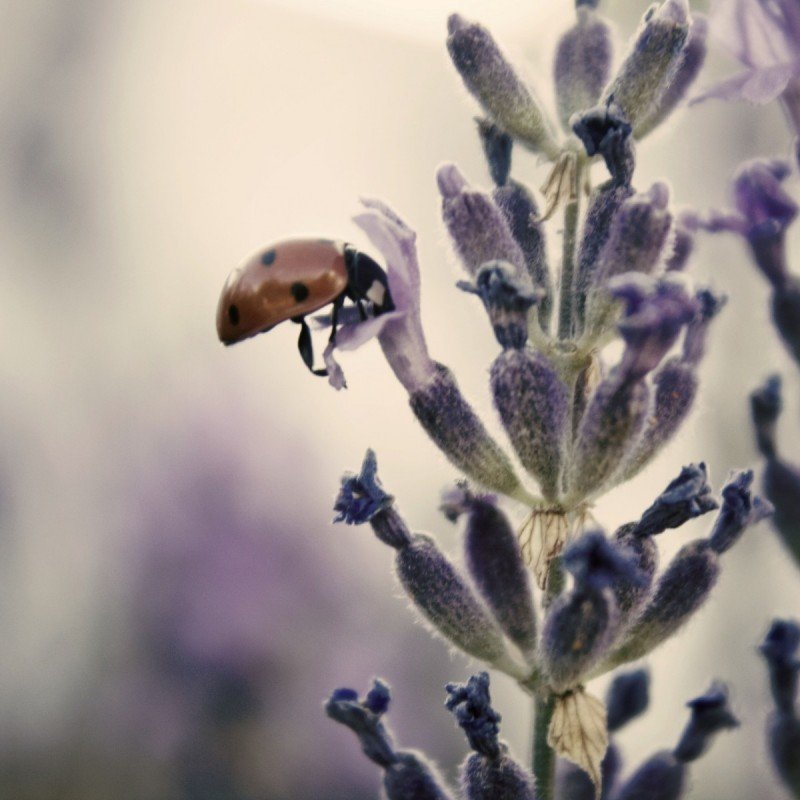
You asked for bees.
Happy picture-tiling!


 DIY Picture Tiles – You Will Never Buy a Photo Frame Again
Great site! Looking forward to seeing more.
I loved making these! So much fun. I also modified and took a 6×6 tile and three wallet photos on one tile so the photos were almost like a collage with some of the tile showing. A very unique look. Love it!
Your photos never cease to amaze me! What kind of camera/lenses do you have?
Thanks! Gotta love the spiked hair trolls!
Love. The. Bag. Of. Soap Nuts!!!!!!
Wowz! These are SO cute, and they look really gun to make. 😀 And you’re an amazing photographer. Any tips?
Distress Ink? They really make that?
How about using a pre-steeped black tea bag? I used tea on a project in high school (we won’t get into how long ago that was.) We were supposed to write letters like we were soldiers in world war two. I also lit the edges on fire when it was dry. I also might have splattered it with jam to make it look like blood… I was going for in-the-trench realism.
Anyhoo. Let’s back peddle out of my verbal meander… tea works great for distressing stuff. So brew up a cup to sip while you craft and don’t forget to drip some on a cotton ball while you’re at it.
the tea is a great idea margie! tea can only make the crafting better. 🙂
Who’d ‘ave thought! The tea instead of ink is GREAT idea! Greener, cheaper, and tastier!! 😛
Thanks for the tidbit!
LOVE that idea!!!
Hubster and I never got around to decorating the house that we are currently living in, and we will be moving in the next 4 months, and we took an amazing 2 week trip to England, Ireland, and Scotland this year (where we look literally 1000s of photos)…you’ve just helped me solve like three things on a to-do list I didn’t even know I had 😀
Thank you….Thank you….Thank you! I can not wait until this weekend to try sucha fun project!
Beautiful photos! I love how the simplest things can make for the most elegant pictures. I love and am amazed by the shots of the bees, but the flowers are my favorite, particularly the tulips.
Does the Modge Podge seal out liquid? I think these would make lovely coasters.
The shot with the ladybug on the lavender is wonderful. They all are actually.
I did notice the distress ink in yesterday’s photo and it made me re-read all the instructions in case I missed something! I uh, also noticed the little 2×2 of the old Crunchy Betty wig-head-lady-mascot in amongst all those awesome tiles that you made in yesterday’s post. It was like a “Where’s Waldo”-moment. Nice to see her pop up from time to time 🙂
This is such a great idea. Thank you so much!
I can’t wait to start this project!! I love your photos and you have inspired me to really start using my new macro lens and get some awesome close-ups of my own. Is it weird that I found that clown picture a little scary?!
Thanks for the inspiration and instruction!
I totally agree about the clown. hahaha I’m glad I’m not the only one. 🙂
God, I love those trollz. 😀
I was thinking of trying some Crackle on the photos, though I don’t know how well that would work. It might not react with the printer ink at all. :/
Oh, OH! You know what you COULD do (if you have the inspiration and/or patience)? Get a bunch of different sized tiles (or same size, whatever you prefer), and print a bigger picture, and break up the pieces of the pic to the diff tiles, and then you can spread them all designer like across a blank wall space. Ooooh, now I want to try it too!
Oh, I so want to craft with someone again. *cries*
Vanessa, that is such a great idea! What possibilities!