Warning: This post contains graphic images of dirty things. Proceed at your own advisement.
Today, right now, it’s a good idea to start saving old lip balm containers. You will want them. Often. For many different reasons.
Me, I have an entire box under my bathroom sink labeled “stuff.” (It is very helpful to name your boxes.) In my stuff box, I keep old containers and makeup from years ago that I haven’t gotten rid of yet.
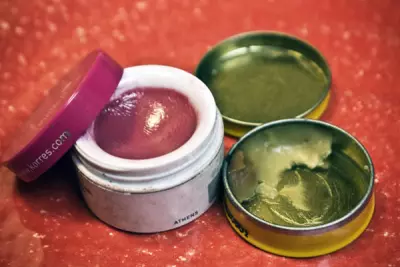
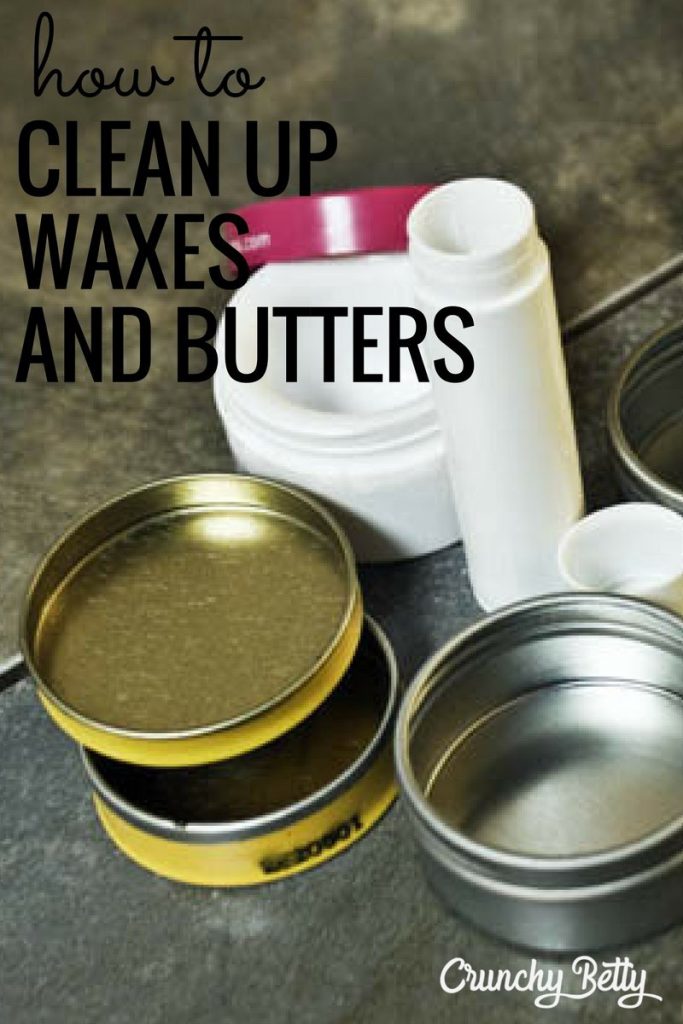
It is in this box that magical things happen sometimes. Like finding old containers that look like the picture above.
If you have containers that look like this, you should know how to clean them up (and you will want to, after you see tomorrow’s post).
To get these squeaky clean, you have to do just a few little things. Not much, really. But the process is similar to cleaning up after you use waxes and butters in recipes (like lip balm, salve, lotion bars, or solid perfume).
Don’t freak out. There are a lot of pictures here (and what looks to be tons of steps), but really it’s much easier than it appears. As a whole, it takes me maybe 10 minutes, at most, to clean up containers (or to clean up after working with waxes and butters).
Here are super easy step-by-step instructions to start reusing your old makeup containers for more worthy pursuits, and to clean up those waxy/buttery pots before your significant other catches you with them. And then sighs. And says, “Good luck with THAT.”
Reuse Old Lip Balm Containers and Clean Your Waxy Stuff
The first thing you’ll need to do is empty out the containers, as best you can, with a spoon.
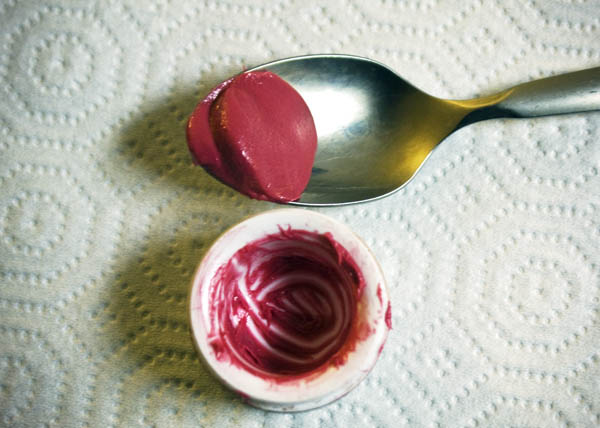
Quick Tip: I keep another box in my closet labeled “things.” In that box, I throw old T-shirts and yoga pants that get holes in them. Every so often, I’ll cut one of them up into rags, and then designate two or three rags as “waxy rags,” which I use specifically to clean up after working with things like this. I don’t wash them. I just use them over and over again until there is no more “clean” room on them to wipe with. This saves on paper towels.
Okay, so after you’ve dug out all your stuff, you’re going to want to start a pot full of water boiling. At any time before or during the boiling process, you toss in your containers.
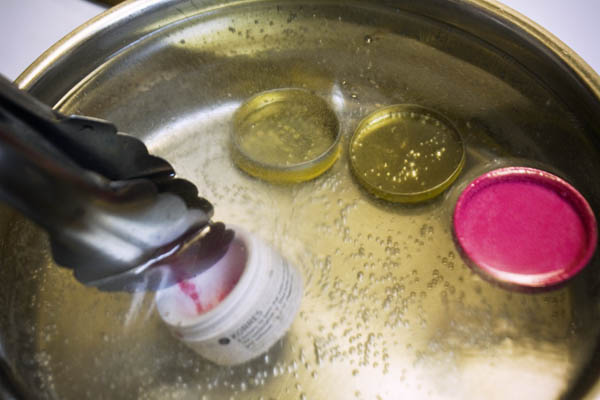
You will probably want tongs, by the way, not only to hold down containers that don’t want to submerge, but to eventually fish those hot containers out.
Let the dirty containers boil for three or four minutes, then fish them out one by one and wipe them off with your rag (or paper towel) immediately. Get that towel into all the crevices and get everything out of there, people. I mean it.
(Dirty picture alert.)

If you’re cleaning out a lip balm tube, the steps are exactly the same, only what I do is pull off the top of a Q-tip and run it around the inside of the tube, instead of using a rag. It just makes sense.
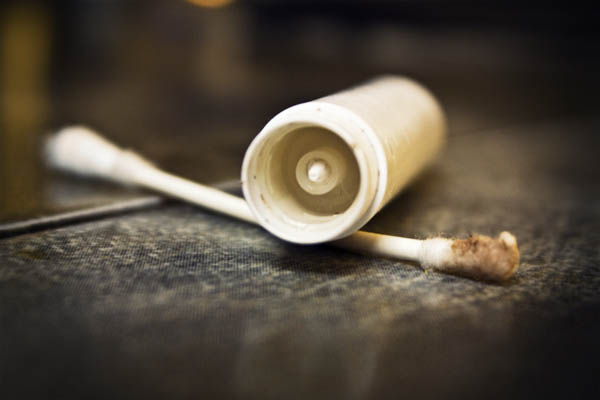
You might find (like above) that there’s still some balm or wax left. If so, just repeat the steps with the same water that’s in your pot. All over again.
If you’re going to use the containers immediately, I recommend popping them into a fresh pot of boiling water for five minutes, to completely sterilize them. If, however, you’re just cleaning them out for future use, you can store them at this point and then boil them to sterilize right before you create your balm, salve, or perfume masterpiece.
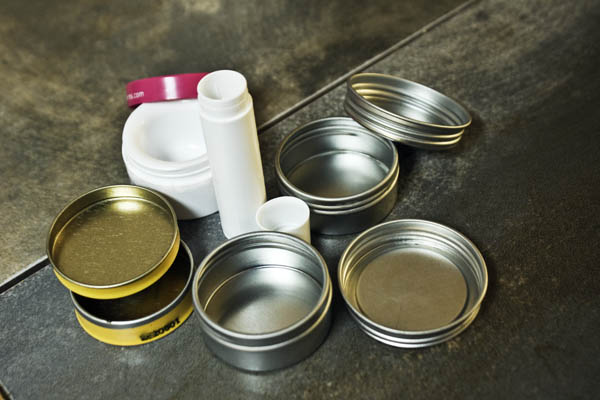
And then you have clean containers that look like this:
Now Clean Up Your Pots and Utensils
If you haven’t noticed, all of the utensils and pots I’ve used are stainless steel or metal. Don’t work with waxes, butters, or balms with things like wood (it’s a bear to clean that off) or nonstick pans.
At this point, we’re cleaning up AFTER cleaning up the containers, but these are the exact steps you’ll take when cleaning up after making balms, salves, and perfume, too.
(If you have a pot that still has a bit of wax/butter coating from making your own products, just fill it with water and let it boil for 5-ish minutes, then proceed.)
Your pot is going to have waxy/buttery stuff floating on the top of the water. This is where you want it.
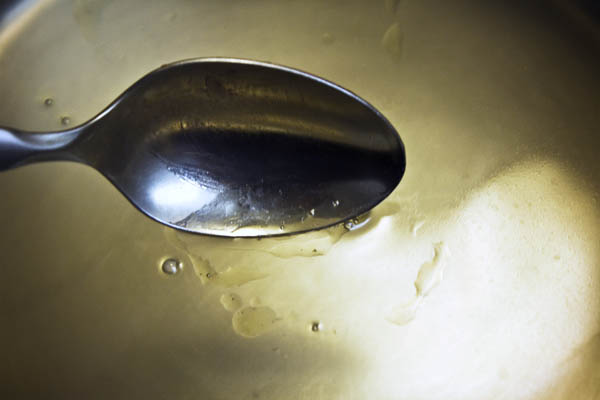
Skim as much of that off the top as you possibly can, wiping your spoon with your rag (or paper towel) after each skim. You don’t want to pour this down the drain, so do your best to get as much of this up as possible.
Of all the steps, this is probably the most annoying, because occasionally you’ll find wax that runs away. And then it hides, and then it shows back up again, and then it runs some more. Patience.
After you’ve skimmed as much of that off as possible, fill your pot up a bit more with water (closer to the top) and start it boiling again. Why? Because there will be wax/butter that has collected around the top edge where the water stopped before.
Also, at this point, you should toss all the utensils you’ve been working with into the boiling water. Let them sit for a minute or two, and then pull them out and wipe them off. After that, they’re clean (though you may want to wash them for real once, too).
(For shame! Another dirty picture.)
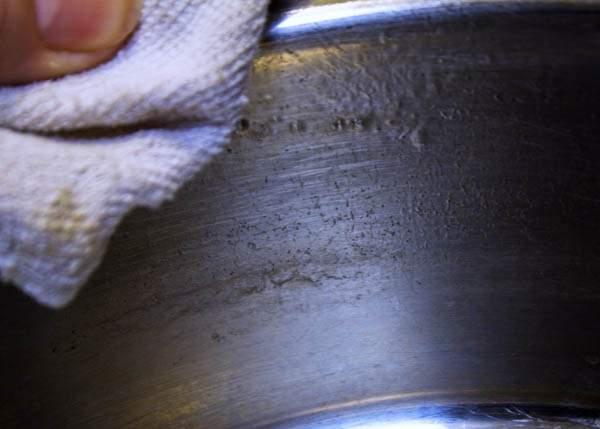
Skim the top off, if there’s any wax left on the top of the water, and then pour the water down the sink with the HOT water running at the same time. Immediately wipe off the pot (as above) around the edges and bottom.
And you’re clean! Done! Yowza!
(Really, I promise it’s not all as time consuming as this post makes it sound. But I wanted to give step-by-step instructions just in case any one was still confused.)
Now that you have clean containers, and know how to clean your pots after working with waxes, butters, you are …
ready for the next step
which will come
tomorrow
(I’ll love ya then.)
(Okay. I love you now. Silly musicals.)

 How to Make Fresh Cheese (Chevre or Queso Fresco) a la The Goat Cheese Lady
How does boiling the lip tubes work? Most lip balm tubes that I find say not to pour your balm at a temperature higher than 120*F because it can expand the parts inside. I imagine heating it to nearly double that would do the same or worse rendering the tube completely non-useable.
I have found that adding a few drops of Dawn dish detergent to the water and stirring with one of the utensils I stirred my waxy project with seems to get more of the wax gunk out of the containers. I think reusing cotton jersey tops is a brilliant idea! Thank you for all the great ideas!
Excellent info my brain is buzzing with all your great ideas.
HUG HUG HUG CRUNCHYBETTY.
Magic! This is exactly what I needed to read. I was going to buy a pack of lip balm tubes BUT NOW I’m definitely cleaning my old ones out….thanks to you, ma’am.
I prefer to reuse something vs recycle/toss and then buy the exact same thing just because its shinier.
Much as gracias!!
However the challenging task lies in finding the vehicle that best suits your needs
and requirements. If the roof leaks, you’ve just improved your ability to
negotiate a reduced price. That is not to say that
all finance schemes are dangerous; some Hire Purchase schemes can be quite beneficial in terms of allowing you to pay off your purchase in manageable monthly chunks.
Oh thanks. I just bought a cool silvery box at a garage sale that had a lot of lip junk in it. Now I have to dig it out of the trash.
Plastic doesn’t melt at boiling temperature? I should have paid attention in chemistry class. I suppose this works with glue sticks too? I don’t make my own glue but I *might*.
Great blog!
Does anyone know how to clean out an emptied lipstick tube? I have a few lipsticks that are almost empty and the tubes are decorative and I’d like to keep them.
i often make my lip balm in a glass jar that i save (labeled) for the next time… so i don’t have to do some of this, or waste. i was wondering about cleaning out old lip balm containers. thanks!
when i clean out lip balm tubes, i find that the stuff some times collects under that thingy that the lip balm was resting in. to get it out, i use my fingernail to dig out the stopper and i boil and wash it separately. i also use a q-tip to wipe it out like how you said in the post. hope you find this helpful:-)
If you put an icecube into the water, you might not need to skim
Thanks!! I didn’t even think about this part, and it would have been a big mess! I like the idea of having separate utensils and pots for things like this.
Awesome… I always seem to have a few “difficult” containers near my kitchen sink that I need to clean up but always put off doing. Now I won’t have to avoid noticing them for weeks/months at a time!
This post has perfect timing–I just got some beeswax and plan to go to town with it, and now my roomies won’t hate me for it. Thanks for the info!
Thank you for the advisement… very graphic, very dirty.
I do however have hope with these cleaning steps! Thanks!
Next thing we know Betty is going to be wax in Madame Tussauds as a tribute to Crunchy Betty! 🙂
If you don’t stop posting blogs like this, I’m going to fall head over heels in love with you! I was just digging through my drawers this morning looking for old containers that I could reuse for my new natural skin and hair products. I was going to google how to clean them tonight. Now I don’t have to! I find the BEST stuff on here–thank you!!
Just a thought…would freezing those little tubs and tubes first work? I’ve never tried it, but in theory the waxy bits would shrink and pull off of the container. That’s what I always do with that leftover candle bit at the bottom of my glass candle holders when they’ve burned out. Pop it in the freezer for a bit, then the wax just pops out. But maybe the cosmetic stuff isn’t waxy enough? Like I said, i haven’t tried it, but it might reduce the amount of greasy/waxy stuff you have to clean out of your pan when you’re done.
Also, once you’ve gotten the majority of the gunk out of the containers, could you put them in a dishwasher basket (you know, the kind you buy for baby bottle bits and stuff) and run it through your dishwasher? I also wash my candle-holders in the dishwasher when they get extra gunky (after the freezing and popping of the wax, of course).
Sorry, I’m lazy (and crazy busy), and if I’m already running a load of dishes, well, then putting these in there would make my life that much easier. 😉
Thank you for this! We have a grater that I use for grating beeswax which I can never get to come clean. Also, I used a wooden spoon the first time I ever worked with wax and what a huge mistake that was! Live and learn, I suppose.
Great tutorial! Thanks for the preview of good things to come. I have a box of empty glass jars and bottles in one area and a box of empty plastic containers in another area. Let the fun begin!
Awesome tips!!! Thank you!
haha, i’m so glad you did a post about cleaning up after dirty wax messes. i’ve made quite a few in non-stick pans now, also in pyrex measuring cups from double boiler-ing. thanks!
I know this process of cleaning little jars all too well! I finally bought a separate metal bowl (as a double boiler), whisk and utensils just for product making so I can be a bit lazy about getting them totally grease-free! Thanks for the tip about saving old clothes to use instead of paper towels, I’ll try that.